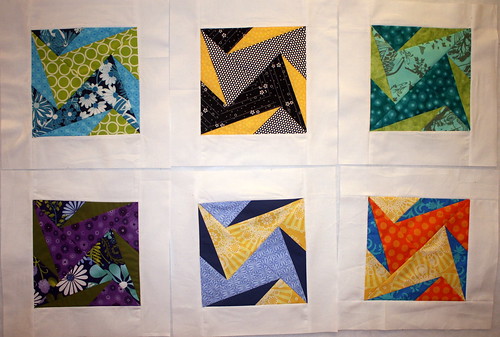
I posted my
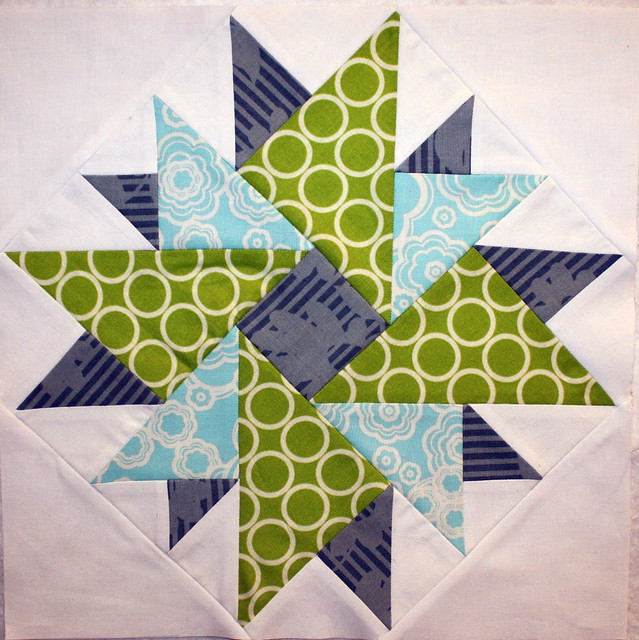
trial bee block on the
4x5 modern quilt bee flickr page and was so surprised when the gals asked me to put together a tutorial for the group! This is my first quilting tutorial, so please forgive any errors and let me know if you have any questions.
Modern Star Block Tutorial
Block Size: 12 1/2 x 12 1/2 inches, unfinished
All seam allowances are 1/4 inch. Be sure to press after each step! I press all my seams open, which worked well for this block.
Cut the following pieces:
Color A (red print in sample):
- Two 5 1/8" squares, then cut on diagonal to make four 5 1/8" half square triangles (HSTs).
Color B (blue print in sample):
- Two 3 7/8" squares, then cut on diagonal to make four 3 7/8" HSTs.
Color C (red stripe in sample):
- Two 2 3/8" squares, then cut on diagonal to make four 2 3/8" HSTs.
- Two 3" squares, then cut on diagonal to make four 3" HSTs.
Color D (white in sample):
- Two 2 3/8" squares, then cut on diagonal to make four 2 3/8" HSTs.
- Four 3" squares, then cut on diagonal to make eight 3" HSTs.
- Two 3 1/2" squares, then cut on diagonal to make four 3 1/2" HSTs.
- Two 5 7/8" squares, then cut on diagonal to make four 5 7/8" HSTs.
Color E (rose print in sample):
- One 2 5/8" square, fussy cut if desired (alternatively, you could use one of the fabrics above)
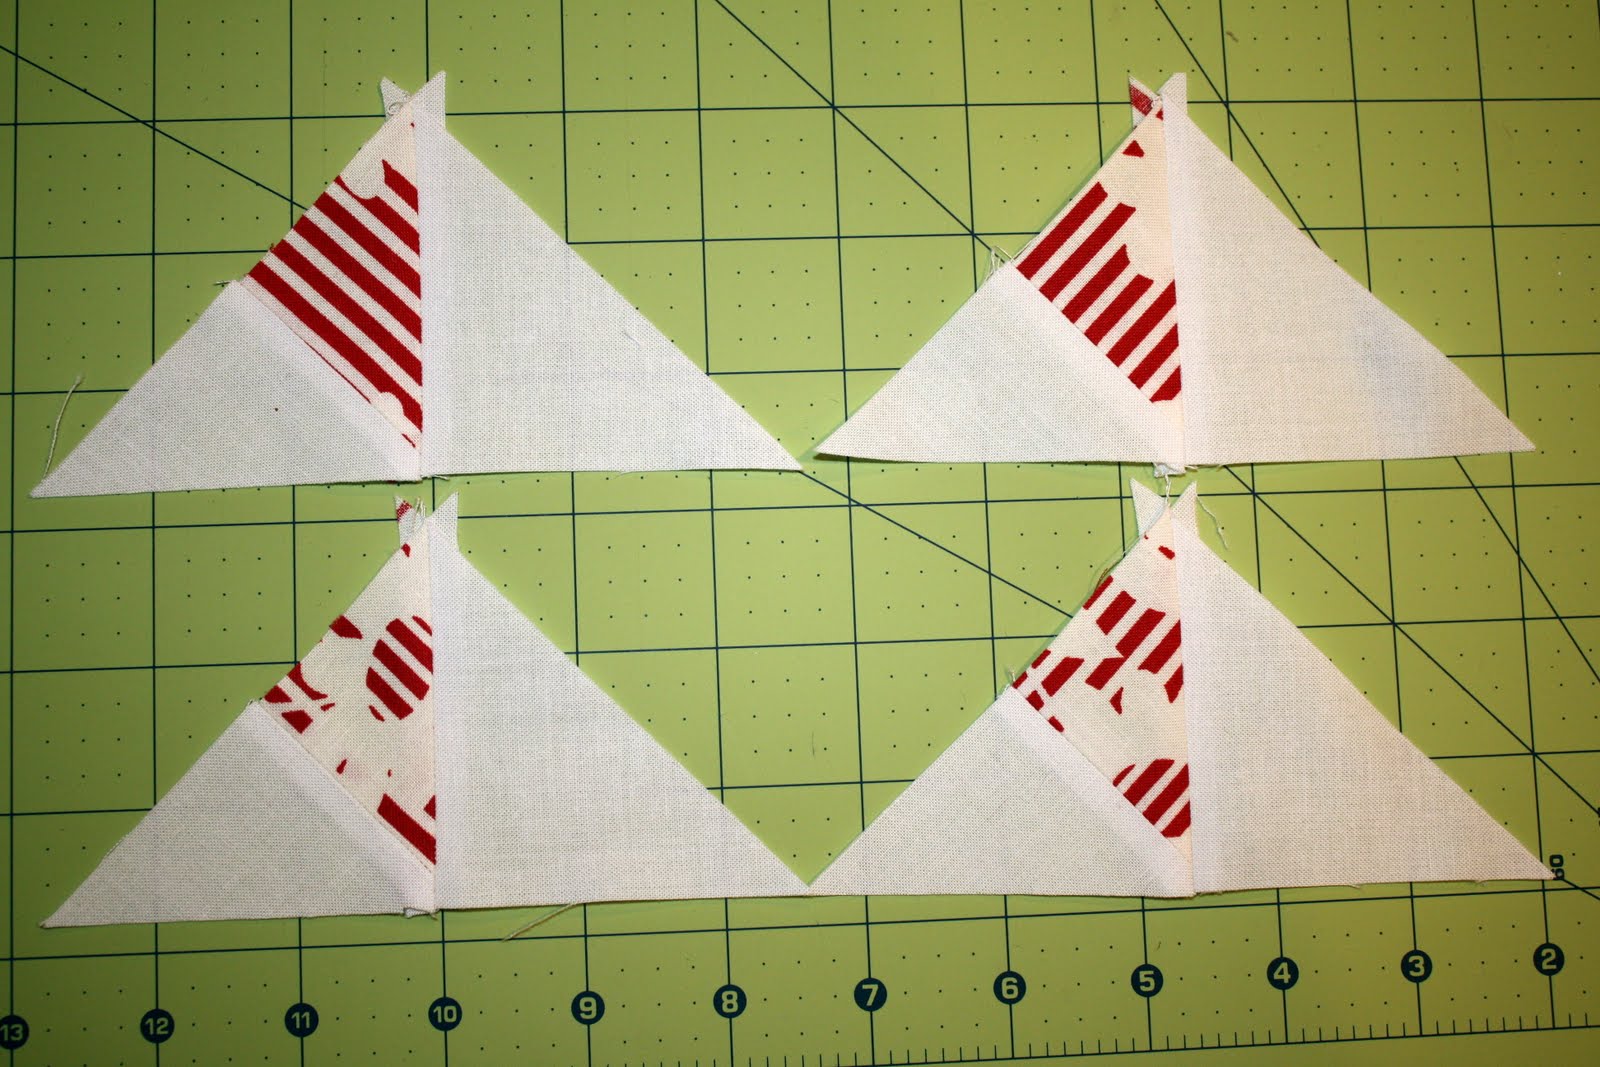
Sew together four sets of C and D 3" HSTs to make four squares.
Add a D 3 1/2" HST to the C side of each of the squares, lining the pieces up on one side as shown. The D 3 1/2" HST will hang slightly off the edge. Set the four units aside.
Sew together C and D 2 3/8" HSTs on their short sides to make four larger triangles.
Sew a D 3" HST to the C side as shown below.
Add the B 3 7/8" HST to the C side as shown below.
Add the A 5 1/8" HST to make a square as shown below.
Sew the long edges of the first units completed above to the A side of the squares as shown below. The edges of the D 3 1/2" HST will hang off as before.
Pin the D 2 5/8" square to the long side of one of the above units.
Sew from the edge of the 2 5/8" block to about 1/4" from the other edge.
Open and press, then working clockwise, add the next unit as shown below.
Continuing clockwise, add the next unit in the same fashion.
Pin the flap that sticks down on the left underneath the block to keep it out of the way.
Add the last unit, sewing the long edge. It should look like the photo below when you're done, with a slit on the bottom left.
Fold the block in half along the slit, pin, sew, and press.
Pin the D 5 7/8" HSTs to each long edge of the block.
Sew each side, open, press, and trim the block to 12 1/2 x 12 1/2 inches.
Thanks it! Please let me know what you think - and link below if you try the tutorial out! Enjoy!